
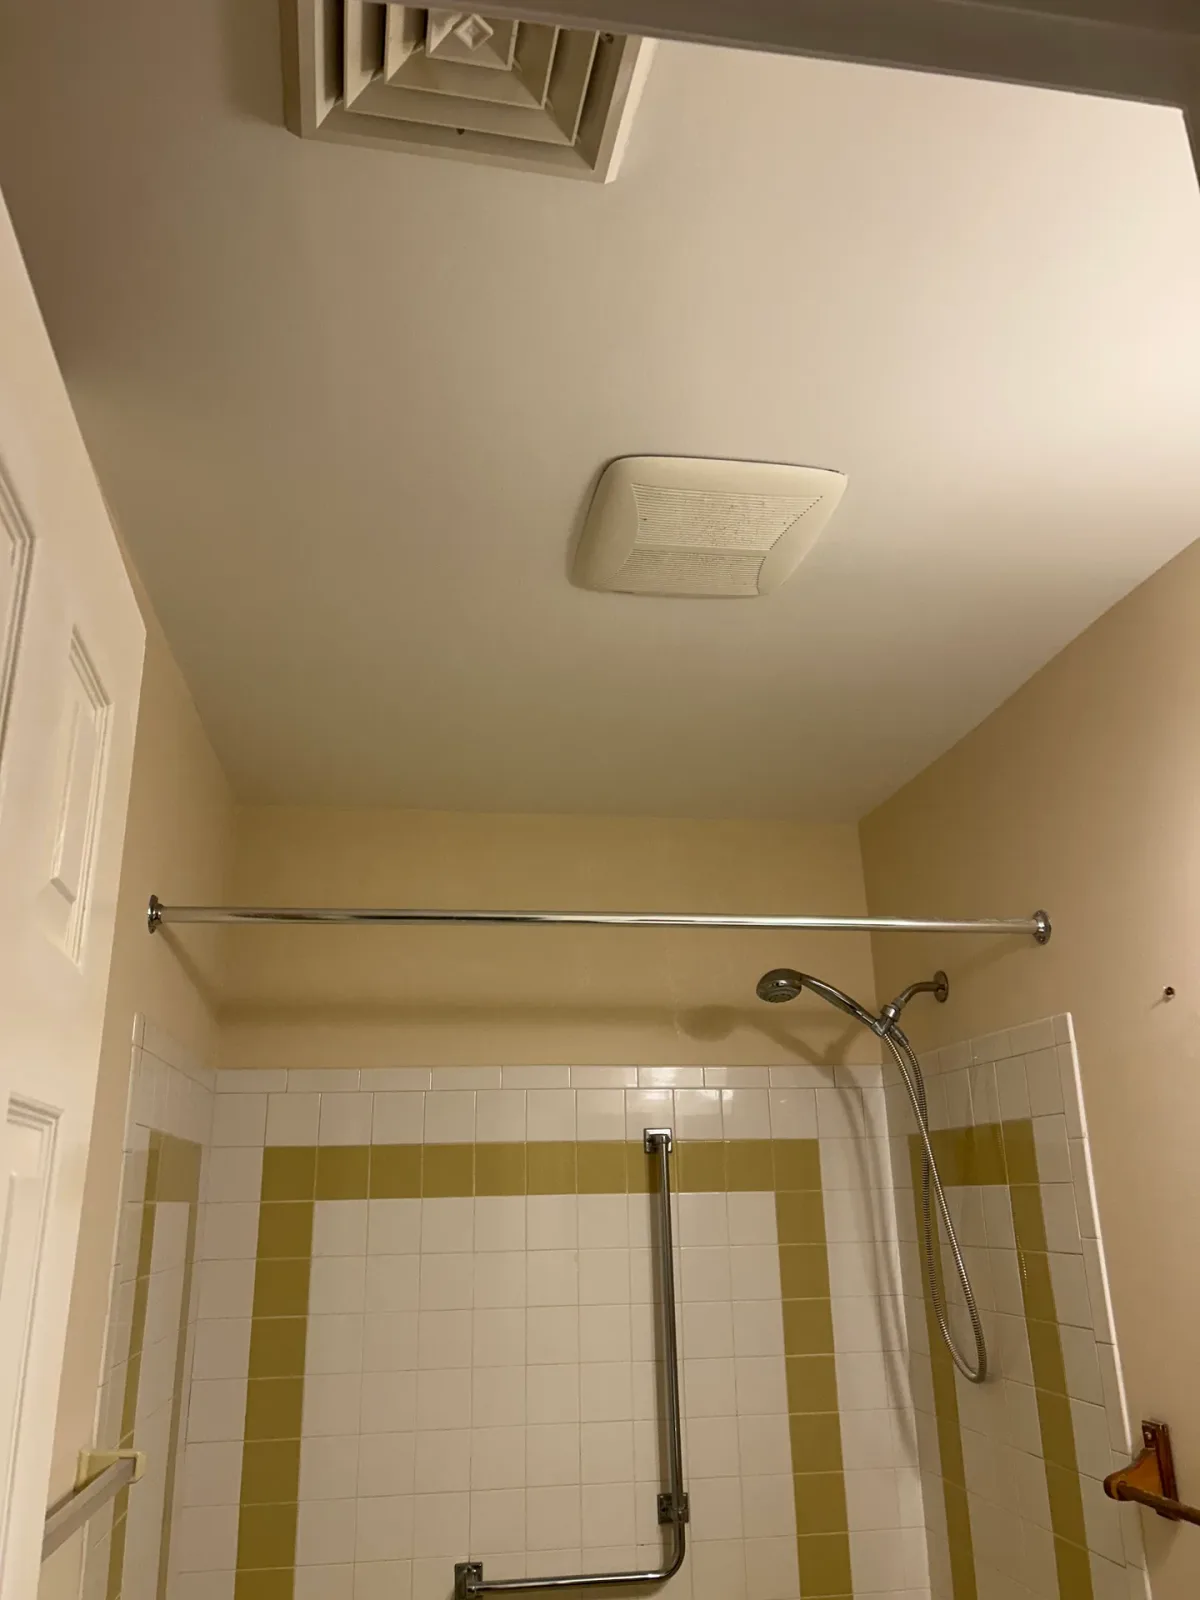
Bathroom Ceiling & Joint Restoration
Manahawkin, NJThis bathroom ceiling required a complete restoration after improper surface preparation and an unsuitable paint finish caused widespread peeling and adhesion failure. Several ceiling-to-wall seams were also separating, requiring the failed joint tape and loose material to be completely removed rather than simply patched over.
The damaged seams were rebuilt with new joint tape and multiple coats of joint compound before the ceiling was skim coated to create a smooth, uniform surface. After sanding, the ceiling was properly primed to seal the repaired areas and promote long-term paint adhesion, then finished with a bathroom-appropriate ceiling paint.
The walls and trim were also refreshed to complete the transformation, leaving the bathroom with clean transitions, consistent finishes, and a properly restored ceiling designed to withstand the room’s moisture and humidity.
Before & After
Scope of Work
Scraped the entire ceiling to remove all loose, peeling, and poorly adhered paint
Removed failed joint tape from approximately four large ceiling-to-wall sections
Re-taped and rebuilt the damaged change-of-plane seams with multiple coats of joint compound
Repaired existing cracks, damaged areas, and additional surface imperfections
Skim coated the entire ceiling to restore a smooth, consistent finish
Sanded and prepared all repaired surfaces for primer and paint
Primed the entire ceiling to seal the repairs and promote proper paint adhesion
Applied two finish coats to the restored ceiling
Applied two finish coats to the bathroom walls
Repainted the door and window trim to complete the room
Project Highlights
Rebuilt multiple failed ceiling-to-wall joints instead of simply concealing the visible damage
Restored a heavily deteriorated ceiling without requiring complete drywall replacement
Corrected widespread coating failure caused by improper preparation and an unsuitable paint finish
Created smooth surfaces and clean, consistent transitions throughout the bathroom
Used a properly prepared coating system designed for the moisture and humidity commonly found in bathrooms
Refreshed the walls and trim to provide a complete, cohesive finished appearance
A Closer Look
Like what you see?
Let’s talk about your space. We’ll walk you through what’s possible and how we’d approach it.